DIY Installation Guide
Do you want to install a great green lawn that uses less water and costs less? Are you curious about how to do it yourself? Learn how to install artificial turf with our DIY Installation Guide. Many residential and commercial yards are going green with artificial turf because of the low maintenance costs.
DIY Artificial Grass Installation Guide
You will find out how you can make your yard an eco-friendly zone and save money at the same time. We have everything you need to complete your project, from turf staples, infill to other installation accessories. We are here to help, and please watch our installation video below.
EXPERIENCE THE DIFFERENCE
At Green-R Turf Artificial Grass, we have created a reputation for providing honest, reliable customer service and the highest level of artificial grass products and installation throughout Southern California. Please watch our video…What Makes us Unique.
What Makes us Unique!
Please Watch our Installation Video
Step 1: Pre-Installation
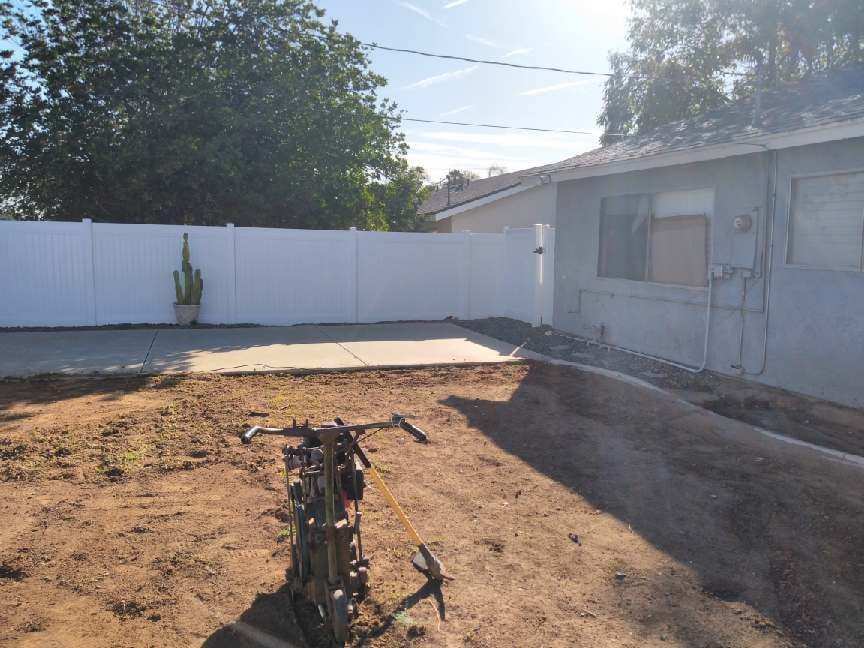
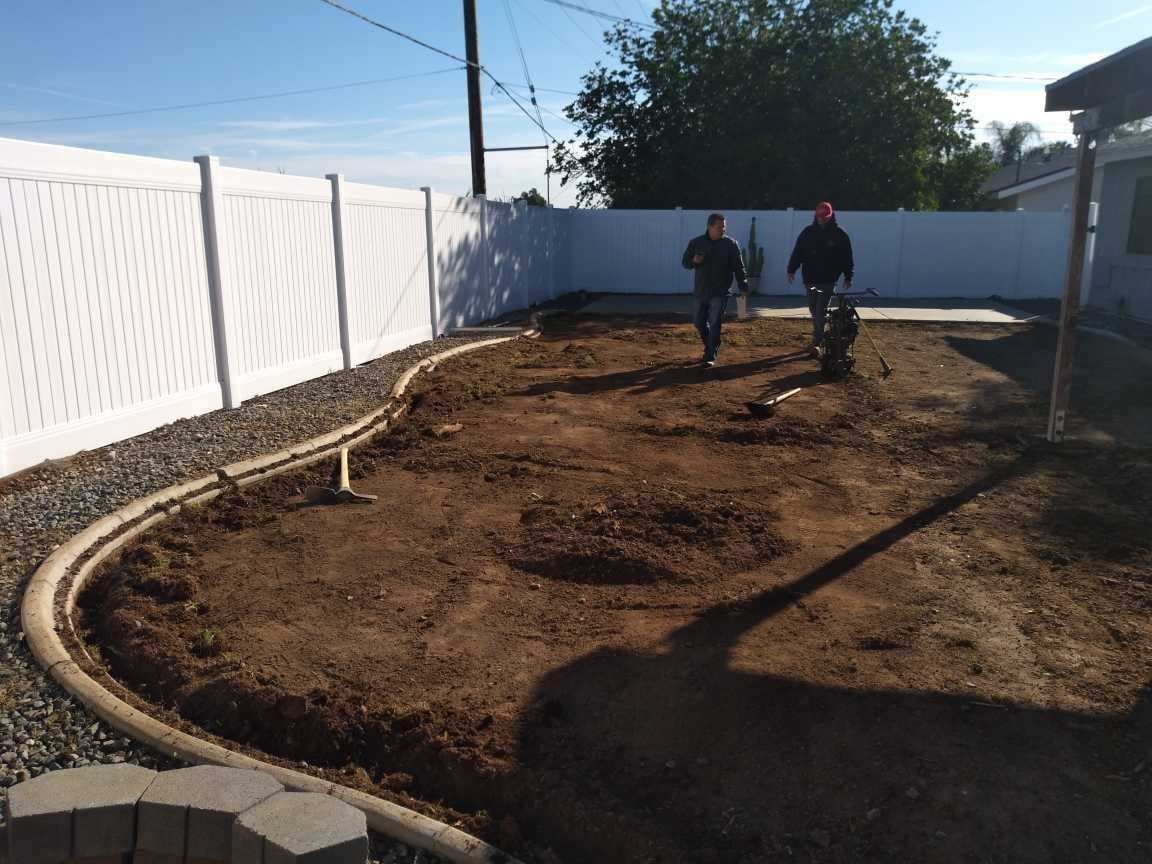
Remove existing materials. Demolition involves removing any existing materials, whether soil, weeds, or any substance above ground. By rough grading the area and uncovering everything underneath, including electric wiring, irrigation, pipes, etc.–we can get a solid sub-base for the project.
Cap sprinklers.
- In this phase, we also cap any existing sprinklers that will not use. It is essential to cap sprinklers at the pipe level as opposed to the rising. This avoids any leakage that may occur between the two. Modify sprinkler irrigation or drainage.
- If necessary, relocate sprinklers, modify existing irrigation lines, and add any required drainage. Be sure to backfill and mark the location of any unused sprinklers to avoid depressions or low spots.
When locating any wiring, electrical sprinklers, etc., move it inward and away from any hardscape or perimeter by six to eight inches. This should prevent any accidental damage when it comes time to secure the turf edge with nails. Once moved, lay all wiring on top of the subgrade surfacing with u-nails.
Install Bender Board
- The installation of the bender board is an important step as it provides a clean line and separation for the plants or bed and turf areas.
Step 2: Base Preparation
Gravel DG Mix
- The next step is to install the base material. This is a special mixture of gravel and sand, which allows for proper drainage. Install 3 inches in depth. For a non-pet landscape installation, should install the base material to a depth of 3 inches.
Properly distribute and level base. Proper base distribution and leveling are important for sloping away from living areas and the installed drainage area. The proper base installation ensures the turf will have a smooth level appearance upon completing the project.
Step 3: Compacting Base
Next, we wet the existing base to allow for proper settling.
Compaction
- The Compaction is accomplished by vibrating, tamping, and rolling the gravel. This establishes a solid base in which to drive the nails while installing the turf. You can do any additional leveling or grading at this time.


Step 4: Custom Fitting Turf
When trimming the turf to fit the area properly, you should over-cut the turf by one inch along the edges. This provides the excess turf necessary for tucking. When in doubt, cut the turf fatter as you can always trim it later. When seaming, it is recommended to use the seaming tool. Once cut using the seaming tool, line it up accordingly.
Cutting the Turf
Use the “S: Seam Tool: Cutting the turf in an s-shape avoids the possibility of the turf pieces pushing against each other’s angles, which in many cases would create the illusion of discoloration in the area of the seam. Install nails every six inches along the edge. Install nails along the edge by placing them six inches apart, driving them down ¾ of the way.
Staples or Nails
Nails or Staples used in the field should be applied as necessary to prevent the movement of turf. As before, drive the nails down ¾ of the way. When finishing the nails, separate the grass to avoid pulling down the blades with the nail. The nail is then hidden with the grass blade at the base with the mat.
Don’t drive the nails too deeply in the ground as it will cause the turf to be pulled down, creating dimples on the surface—secure seams with U-nails every six inches. During the seaming process, six-inch u-nails are used to join the turf together.
The two seams are butted up against each other with u-nails spaced six inches apart. The finishing process with the u-nails is the same as before. Separate the grass to avoid the blades being pulled down with the u-nail. The u-nail is then driven to the same level of the mat and hidden with the grass blades.
Step 5: Tucking Turf Edges
Tucking the turf involves hiding the edges of the turf against any hardscape or edging border by using a metal bar called a wonder bar. The side edges of the turf give it a good clean plush look.
Step 6: Applying Filler
In this phase, a powder brush is used. The heavy bristled brush is used to pull against the grain of the grass, causing it to stand up in preparation for applying the Infill sand. Next, apply the infill sand.
The Zeo Clean sand is anti-bacterial and not harmful for pets or children. Spread the granules evenly throughout the turf installation. This acts as a balance to hold the blades upright and gives the turf more weight.
Step 7: Final Groom
The final grooming step involves power brushing the turf once again, lightly, to force the Zeo Clean Infill granules into the turf base for settling and optimal stability. Follow up the process to remove any excess debris.
ARTIFICIAL GRASS FOR HOMES & BUSINESSES
Landscapes • Putting Greens • Playgrounds • Sports • Dogs & Pets
Artificial Turf is becoming more popular each year: We offer a diverse range of artificial grass surfaces for a playground, putting green, dog run, or for your lawn at home or business. We are committed to quality, value, and customer satisfaction.
Gather around the fire, grill up some dinner, and start enjoying your new outdoor living space again. We can Transform the Ordinary Backyard into a Beautiful Outdoor Oasis. We will build your personal patio, an elegant pool deck, a warm welcome home driveway, or a secret backyard haven by blending multiple textures, interesting shapes, and beautiful pavers and artificial turf landscape to create the perfect outdoor kitchen or living area.
Concrete & Interlocking Stone Pavers
Interlocking Stone Pavers are redefining luxury for homeowners with custom-designed outdoor living renovations. We’ve been transforming outdoor living spaces for more than 10 years and are proud to work with and design your outdoor living oasis. Outdoor living elements and stone pavers are customizable, so you can rest assured your space will be unique to you, from traditional to contemporary and everything in between. Interlocking paving stones create a timeless design.
*Certified installation provided by Green-R Turf & Green-R Pavers; CSLB #1013745 – C27 C61/D12. We are proud to serve the areas of Southern California from Santa Barbara, San Diego to Big Bear, CA.
